如何使用 Resend、Next-Auth 和 React-Email 发送热情欢迎邮件
本文将介绍哪些内容?
我们经常会遇到这样的情况:注册后,一些应用程序会发送欢迎邮件。这些邮件通常用于验证我们的邮箱地址、引导我们了解平台,并让我们感到宾至如归。本文将介绍如何使用 Resend、Next-Auth.js 和 React-Email 以编程方式发送欢迎邮件。

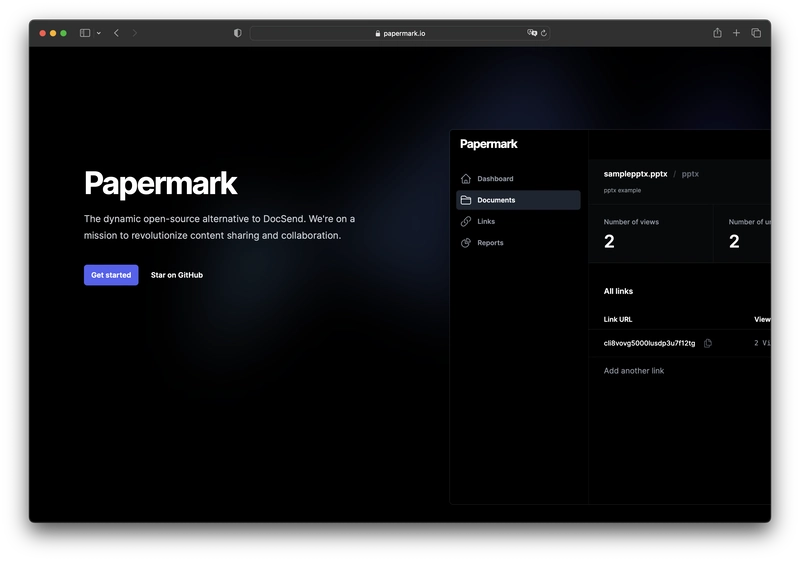
Papermark——首个动态开源的 DocSend 替代方案。
在开始之前,让我先介绍一下Papermark。它是DocSend的开源替代方案,可以帮助您管理安全的文档共享,包括实时分析。而且它是完全开源的!
如果您能给我们点个赞,我将万分感激!别忘了在评论区分享您的想法哦❤️
https://github.com/mfts/papermark
设置项目
接下来,我们将为邮件欢迎应用程序搭建项目环境。我们将创建一个 Next.js 应用,并设置所需的服务和工具。
准备茶水
在深入开发之前,最好先准备一个包管理器,比如tea。它可以管理你的开发环境,简化你的工作!
sh <(curl https://tea.xyz)

# --- OR ---
# using brew
brew install teaxyz/pkgs/tea-cli
tea它能让你专注于代码编写,因为它会自动安装所需的软件包node,包括其他任何软件包。最棒的是,它会将所有软件包安装在一个专用目录(默认为 `/usr/local/bin`npm)中,从而保持系统文件的整洁有序。verceltea~/.tea
使用 TypeScript 和 Tailwind CSS 配置 Next.js
我们将使用它create-next-app来创建一个新的 Next.js 项目。我们还会使用 TypeScript 和 Tailwind CSS,所以请确保在提示时选择这些选项。
npx create-next-app

# ---
# you'll be asked the following prompts
What is your project named?  my-app
Would you like to add TypeScript with this project?  Y/N
# select `Y` for typescript
Would you like to use ESLint with this project?  Y/N
# select `Y` for ESLint
Would you like to use Tailwind CSS with this project? Y/N
# select `Y` for Tailwind CSS
Would you like to use the `src/ directory` with this project? Y/N
# select `N` for `src/` directory
What import alias would you like configured? `@/*`
# enter `@/*` for import alias
设置 Next-Auth
Next-Auth 是 Next.js 的首选身份验证库。我还安装了prisma-adapterNext-Auth 的依赖项,这将使我们能够使用 Prisma 作为数据库 ORM。
npm install next-auth @next-auth/prisma-adapter
设置重发
Resend 是一项可以通过 API 发送交易电子邮件的服务,非常适合我们的需求。
npm install resend
注册 Resend 并从https://resend.com获取您的 API 密钥。将此 API 密钥添加到您的.env文件中。
# .env
RESEND_API_KEY="YOUR_API_KEY"
设置 React-Email
React.email是一套高质量、无样式化的组件集合,用于使用 React 和 TypeScript 创建精美的电子邮件。它由 Resend 的同一开发者制作。
npm install react-email @react-email/components
我只安装了组件包,但您也可以安装完整包,其中包含组件和一个默认主题。
构建应用程序
现在我们已经完成了所有设置,可以开始构建应用程序了。我们将介绍的主要功能包括:
- 用户注册
- 欢迎邮件发送
- 电子邮件模板
#1 用户注册
这是根据 next-auth 的文档修改而来的后端函数,使用prisma作为数据库,Google 作为身份验证提供程序。
我们将在以下函数中发送欢迎邮件sendWelcomeEmail。
// pages/api/auth/[...nextauth].ts
import NextAuth, { type NextAuthOptions } from "next-auth";
import GoogleProvider from "next-auth/providers/google";
import { PrismaAdapter } from "@next-auth/prisma-adapter";
import prisma from "@/lib/prisma";
import { sendWelcomeEmail } from "@/lib/emails/send-welcome";

export const authOptions: NextAuthOptions = {
  providers: [
    GoogleProvider({
      clientId: process.env.GOOGLE_CLIENT_ID as string,
      clientSecret: process.env.GOOGLE_CLIENT_SECRET as string,
    }),
  ],
  adapter: PrismaAdapter(prisma),
  session: { strategy: "jwt" },
  callbacks: {
    jwt: async ({ token, user }) => {
      if (!token.email) {
        return {};
      }
      if (user) {
        token.user = user;
      }
      return token;
    },
  },
  events: {
    async createUser(message) {
      const params = {
        user: {
          name: message.user.name,
          email: message.user.email,
        },
      };
      await sendWelcomeEmail(params); // <-- send welcome email
    }
  },
};

export default NextAuth(authOptions);
#2 欢迎邮件发送
这是我们的第二个后端函数,它被调用sendWelcomeEmail并用于resend发送电子邮件。
// lib/emails/send-welcome.ts
import { Resend } from "resend";
import { WelcomeEmail } from "@/components/emails/welcome";

const resend = new Resend(process.env.RESEND_API_KEY!);

export async function sendWelcomeEmail({name, email}: {name: string | null | undefined, email: string | null | undefined}) {
  const emailTemplate = WelcomeEmail({ name });
  try {
    // Send the email using the Resend API
    await resend.emails.send({
      from: "Marc from Papermark <marc@example.org>",
      to: email as string,
      subject: "Welcome to Papermark!",
      react: emailTemplate,
    });
  } catch (error) {
    // Log any errors and re-throw the error
    console.log({ error });
    throw error;
  }
}
#3 电子邮件模板
邮件的实际内容在此处定义。我们使用react-email组件来定制邮件的外观和风格。
您可以在这里找到更多电子邮件示例:https://demo.react.email/preview/vercel-invite-user
// components/emails/welcome.tsx
import React from "react";
import {
  Body,
  Button,
  Container,
  Head,
  Heading,
  Html,
  Preview,
  Text,
  Tailwind,
} from "@react-email/components";


interface WelcomeEmailProps {
  name: string | null | undefined;
}

export const WelcomeEmail = ({ name }: WelcomeEmailProps) => {
  const previewText = `Welcome to Papermark, ${name}!`;

  return (
    <Html>
      <Head />
      <Preview>{previewText}</Preview>
      <Tailwind>
        <Body className="bg-white my-auto mx-auto font-sans">
          <Container className="my-10 mx-auto p-5 w-[465px]">
            <Heading className="text-2xl font-normal text-center p-0 my-8 mx-0">
              Welcome to Papermark!
            </Heading>
            <Text className="text-sm">Hello {name},</Text>
            <Text className="text-sm">
              We're excited to have you onboard at <span>Papermark</span>. We
              hope you enjoy your journey with us. If you have any questions or
              need assistance, feel free to reach out.
            </Text>
            <Section className="text-center mt-[32px] mb-[32px]">
              <Button
                pX={20}
                pY={12}
                className="bg-[#00A3FF] rounded text-white text-xs font-semibold no-underline text-center"
                href={`${process.env.NEXT_PUBLIC_BASE_URL}/welcome`}
              >
                Get Started
              </Button>
            </Section>
            <Text className="text-sm">
              Cheers,
              <br />
              The Papermark Team
            </Text>
          </Container>
        </Body>
      </Tailwind>
    </Html>
  );
};
额外福利:预览邮件
React-Email 内置了一个渲染函数,可以让你在浏览器中预览邮件模板。这对于测试和调试布局非常有用。
email将密钥添加到文件scripts的相应部分package.json。
// package.json
{
  ...
  "scripts": {
    ...
    "email": "email dev --dir ./components/emails --port 3001"
  },
  ...
}
- 运行以下命令启动邮件预览服务器。
npm run email
- 打开浏览器并访问以
http://localhost:3001查看电子邮件模板的预览。

结论
瞧!我们已经使用 Resend、Next-Auth 和 React-Email 构建了一个发送欢迎邮件的系统。虽然这里的示例很简单,但同样的概念可以扩展到处理您的应用程序可能需要发送的任何类型的电子邮件。
感谢您的阅读。我是Marc,一位开源倡导者。我正在开发papermark.com ——DocSend的开源替代方案。
对我来说,编程是一个持续学习和探索的过程。所以,朋友们,继续编程吧!
帮帮我!
如果您觉得这篇文章对您有所帮助,让您对 Resend、Next-Auth 和 React-Email 有了更深入的了解,请给我们点个赞!也别忘了在评论区分享您的想法哦❤️
https://github.com/mfts/papermark